Guides
Bathroom tiling in Dubai
Tiles are the visible result of a decision made two stages earlier, on a substrate nobody will see again.
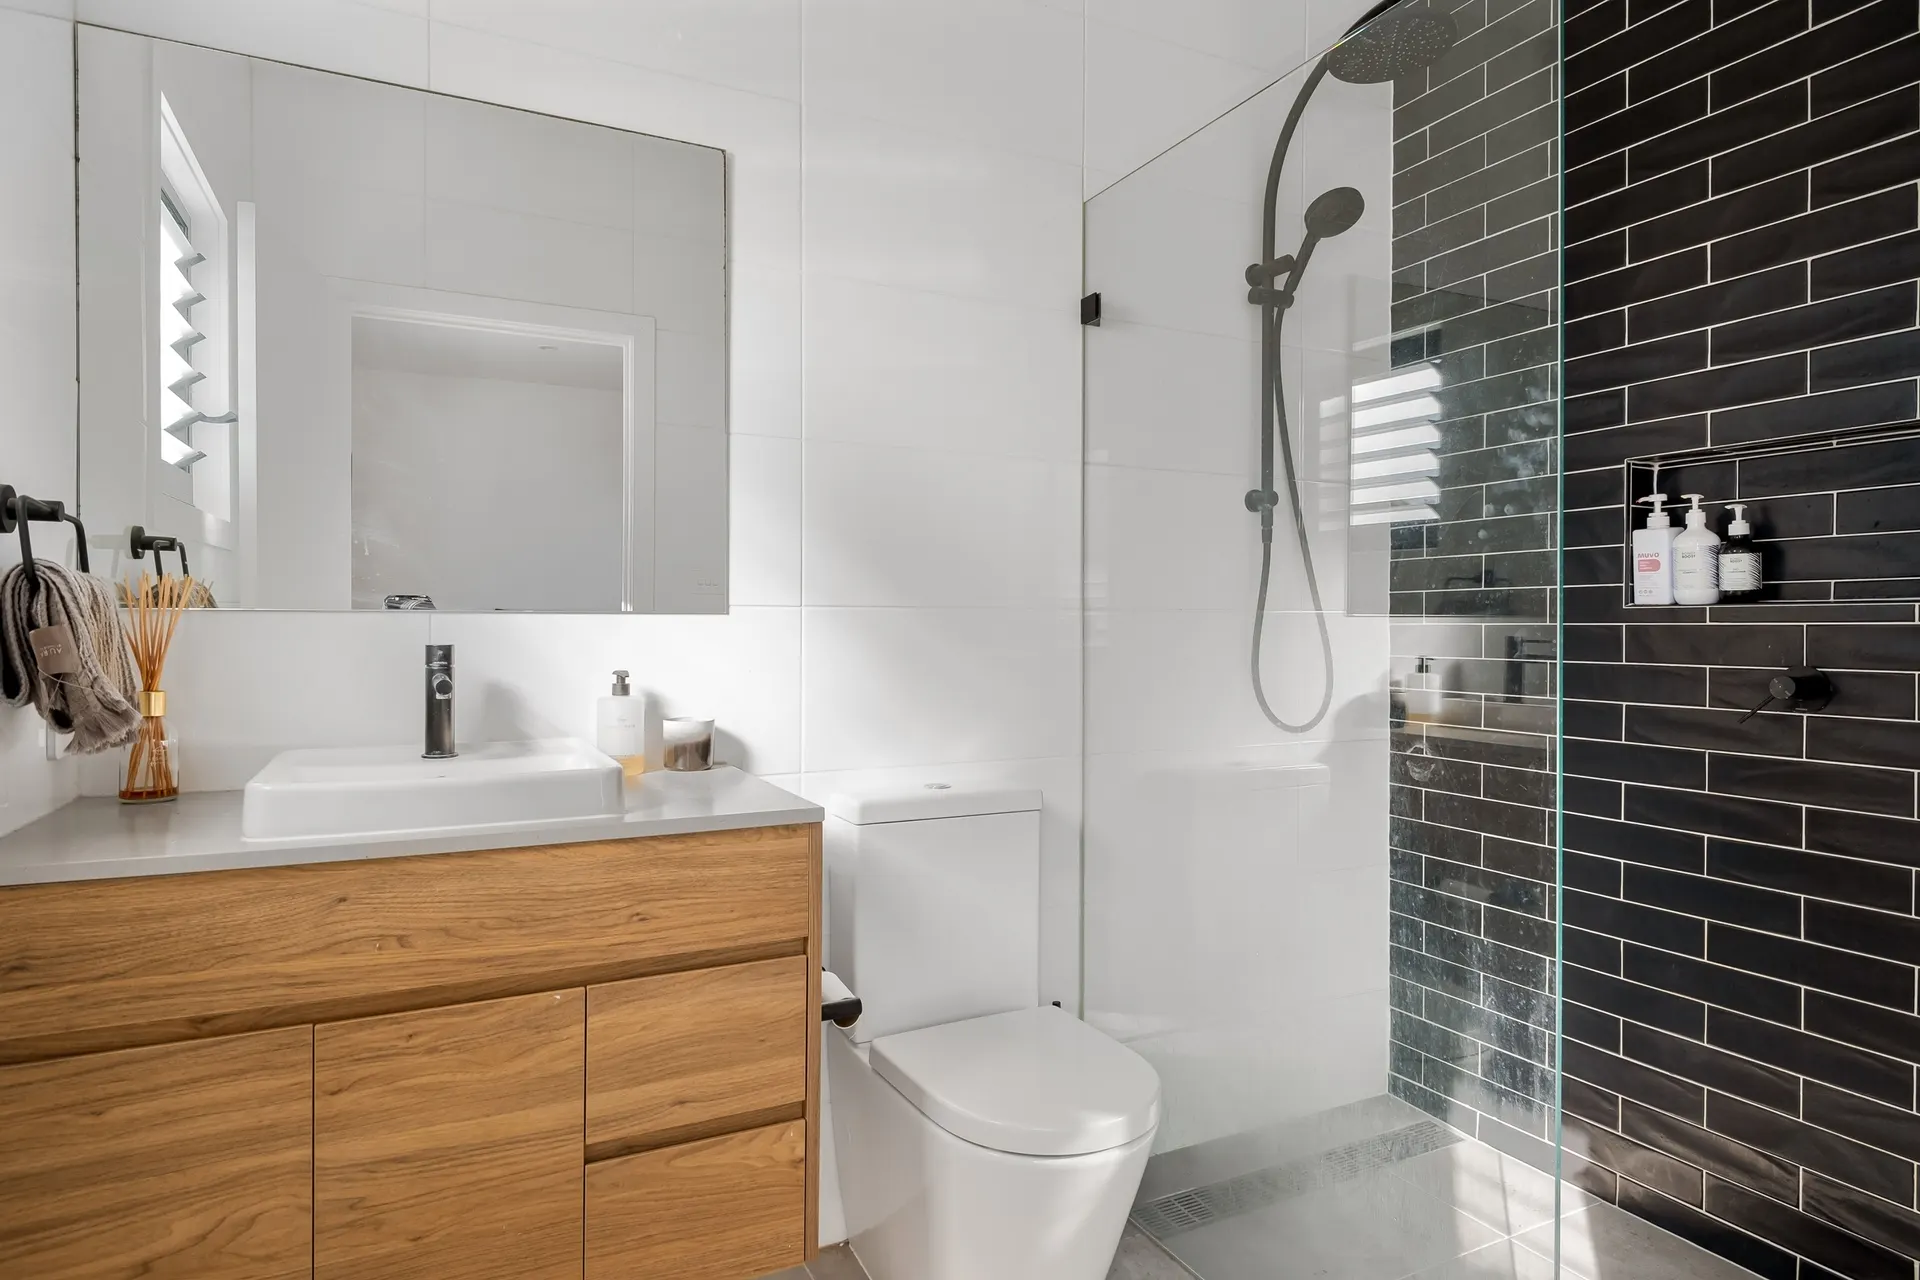
Bathroom tiling succeeds or fails on what is under it. Adhesive and grout are not waterproof layers, so the protection sits in the floor build-up and on the walls behind the wet areas, and the tile is the finish rather than the barrier. On a large-format tile that matters even more, because the substrate has to be flat across the whole face of the tile rather than merely sound.
Element pages explain one part of a larger renovation in detail: what is being chosen, what the installation involves, and where the cost and time usually sit.
The second half of the job is setting out. Where the joints land, how the cuts fall at the door and in the corners, and whether the floor grid lines up with the wall grid are all decided before the first tile is fixed. Getting that right is what makes a small bathroom read as a considered room rather than a tiled one.
What matters most on this page
The substrate must be flat, not just sound
Large formats cannot be pulled into an uneven wall. Levelling and preparation are part of the tiling cost, not an optional extra.
Setting out before fixing
Joint positions, cut widths at the door and the alignment between floor and wall grids are planned in advance and marked on site.
Materials chosen for a wet, warm room
Adhesives, grouts and sealants need to suit the surface and the environment. A standard grout in a wet area will discolour.
What decides the finished result
The order of the grid
Starting from the most visible wall or the doorway rather than a corner keeps the cut tiles where they are least noticed.
Movement and expansion
Large tiled areas and changes of substrate need expansion joints. Ignoring them shows up later as a crack along a straight line.
Level differences at the threshold
Floor build-up changed by a new screed has to meet the adjoining room cleanly, which is decided with the door detail.
Check these before the tiling starts
Confirm the wet area is tested first
Tiling over an untested membrane removes the only chance to prove the bathroom is watertight.
Approve the setting-out on the wall
Mark the grid on site before fixing. It is the cheapest correction you will ever make.
Keep spare tiles
A box held back makes any later repair possible without a colour or batch mismatch.
Questions we are often asked
Are large-format tiles harder to lay?
They need flatter substrates, more careful handling and a tighter layout plan. They also produce more cutting waste.
Do I need a waterproof adhesive?
The waterproofing is the layer beneath, not the adhesive. The adhesive and grout should suit the tile and the wet area, but they are not the barrier.
Can tiles be laid over existing tiles?
Sometimes, where the existing tiles are firmly bonded and the added thickness does not disturb doors or fittings. It is a judgement made on site.
Related guides
- Walk in shower installationThe next component to decide in the same room.
- Bathroom renovation costHow this element sits in the overall budget.
- Bathroom renovation timelineThe next question people ask about the same work.
- Bathroom renovation problemsThe next question people ask about the same work.
Start from bathroom renovation, browse the guides, or see all renovation and fit-out services. We work on homes and commercial premises across Dubai.
Tell us about the property
Tell us which room, which element and what is being replaced. We will confirm the measurements and the sequence that follows.
Phone
+971 56 181 0106Good for talking a job through and arranging a visit.
WhatsApp
Send a messageUseful for photographs, floor plans and measurements.
Next step
Plan the tiling with the floor
Tell us the room and the tiles you have in mind. We will check the substrate and set out the grid before work starts.